
School Playground Design: A Practical Guide for Schools
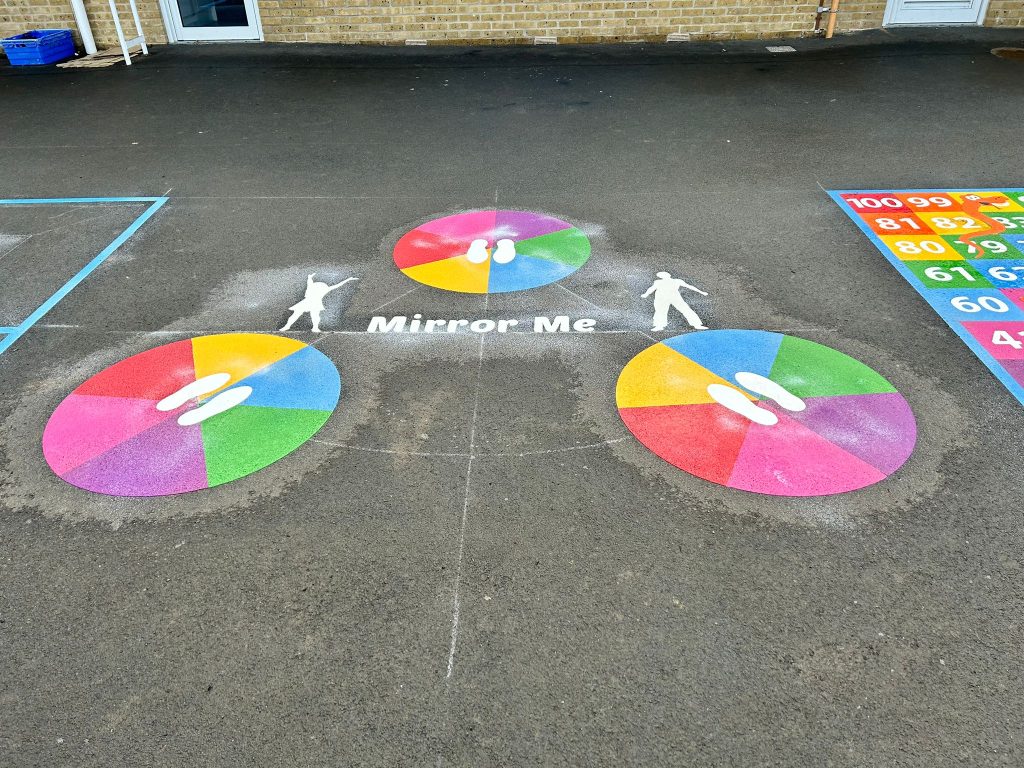
School playground design is the planning of how a playground's space, zones and markings will work together, so that pupils of every age have somewhere to run, play games, learn and calm down. For most primary schools, the design is delivered with thermoplastic playground markings laid on the existing tarmac or concrete and set out around the school's goals, pupils and site.
What should a good school playground design achieve?
A good school playground design gives pupils more reasons to be active, more ways to play together and more chances to practise what they learn in class, while keeping the space safe and easy for staff to supervise. It should also reflect the character and values of the school, which gives children a sense of belonging.
A well designed playground supports:
- Physical health: running tracks, sports courts and active games get children moving at break and lunchtime.
- Social development: board games, mazes and team games build turn-taking, teamwork and communication.
- Learning: number grids, phonics games and maps reinforce classroom content without feeling like more schoolwork.
- Wellbeing and behaviour: clear zones for active, creative and calm play reduce playground conflict and give every child a space they feel comfortable in.
How do you get started with a new school playground design?
Getting started with a new school playground design means agreeing what the space must achieve and then surveying the site before any markings are chosen. Clear objectives at the start shape the layout, the choice of markings and the budget, and stop the project becoming a collection of unrelated games.
- Agree your goals. Ask what the playground needs to do. Do you want to raise activity levels, take classroom learning outdoors, support emotional wellbeing, or give quieter children somewhere to go? Most schools want a mix, and the balance guides the zoning.
- Gather the basics. Note the number of pupils, their ages and ability levels, your school themes and colours, and your budget.
- Analyse the site. Look at the size and shape of the area, existing features, the position of the sun, trees and vegetation, the condition of the surface and the walkways pupils already use. Avoid placing markings where they could become a hazard, such as near steps or sharp corners.
- Talk to the people who use it. Teachers, lunchtime staff, the school council and pupils will all tell you what works now and what does not.
- Book a site visit. Our team visits the school, looks at the space and talks through your ideas, then our design team produces a layout for you to review and amend.
You can see each stage, from the free site visit to installation, in our design and installation process.
How should a school playground design be divided into zones?
A school playground design should be divided into zones for active play, quiet play and learning, so that different activities can happen at the same time without competing for the same space. Separate zones manage the flow of play, prevent overcrowding and give children of different ages suitable, safe areas.
- Active zones: football, basketball and netball courts, running tracks and mile tracks give children room for team sports and fitness, and build coordination and teamwork.
- Quiet zones: chess boards, mazes and trails give children who do not want to run around something thoughtful to do, and build problem-solving and creativity.
- Learning areas: numbers, letters, shapes and times tables turn part of the playground into an outdoor classroom that teachers can use in lessons.
- Calm areas: simple markings, sensory paths and quiet corners help children who feel overwhelmed during busy breaktimes.
Our design team also plans around types of play. A balanced playground has space for active, sensory, creative, imaginative, social and reflective play, because every pupil learns and plays in a different way.
How do you design a school playground for different age groups?
Designing a school playground for different age groups means matching the markings to each stage of development, with simple shapes and games for the youngest children and more complex challenges for older pupils. Most schools combine shared areas that suit everyone with clearly marked zones for particular year groups.
| Age group | What children need | Marking ideas |
|---|---|---|
| EYFS and nursery (ages 2 to 5) | Motor skills, strength, sensory exploration, imaginative and social play | Shapes and prints, characters and objects, animal trails, letter games, alphabet spirals, number lines |
| KS1 and KS2 (ages 5 to 11) | Physical challenge and enough mental stimulation to keep them engaged | Number games and grids, giant board games, targets, mazes, hopscotch, chess and problem-solving games |
| Secondary (ages 12 and up) | Higher energy, competitive play | Sports courts with accurate dimensions and fitness circuits |
Shared spaces can include designs that appeal to every age, such as world maps and sensory paths, while clearly marked age-specific areas give younger children a safe space for simple games.
Which educational markings should a school playground design include?
A school playground design should include educational markings that link to the curriculum, such as number grids, multiplication grids, number snakes, phonics games and world maps. These designs reinforce classroom content through play, and teachers can use them in lessons as well as at break.
Schools often ask how to add learning without losing free play. Our advice is:
- Include a variety of markings in the same area, so every pupil finds something to engage with.
- Link markings to the curriculum. Our bespoke designs have covered maths, geography, science and history, which gives pupils of all ages less formal learning outside the classroom.
- Use bright, engaging colours, so children feel they are playing rather than doing more work.
- Make the learning a game. Mile tracks, target games, mazes and board games can all carry an educational element.
Board game markings such as giant chess, noughts and crosses and snakes and ladders blend movement with thinking, because children have to plan ahead and practise number skills. Schools also use custom designs to reflect their values, such as eco themes, historical timelines or local geography.
How can a school playground design include every child?
An inclusive school playground design makes sure all children, including those with SEND, can take part, by offering a mix of active, creative and calm spaces and games built on co-operative play, turn-taking and shared experiences. We can also advise on making the playground accessible to children with disabilities.
We offer accessible features such as sensory circuits, calming zones and emotion trails that support emotional literacy and regulation. For more ideas, read our guide to inclusive playground design for wellbeing.
How can a small school playground design fit everything in?
A small school playground design fits more in by using multi-use layouts, bright contrasting colours to define each area, and compact markings such as hopscotch and smaller number grids. The aim is to make each part of the playground work for more than one activity.
Our team can weave several markings together so that one area serves children of different ages and abilities, and we scale designs to suit the space, including oddly shaped playgrounds. Walls and fences can also carry educational or interactive murals. Larger playgrounds have room for fitness trails, mile tracks and roadways that keep children of all ages moving. Our article on small playground design for compact school spaces has more layouts for tight sites.
Why should pupils be involved in designing the school playground?
Involving pupils in designing the school playground gives them a sense of ownership, lifts morale and makes them more likely to use the space once it is finished. Children enjoy seeing their own ideas brought to life, and they often know best which games the playground is missing.
We are happy to work with pupils of all ages, or with the school council, to develop ideas and turn their suggestions into a workable design. A playground that pupils helped to create also encourages them to spend more time outdoors and active, which helps with wider health concerns such as childhood obesity.
How should the playground surface be prepared before new markings go down?
The playground surface should be clean, sound and free of old markings before new thermoplastic markings are installed, because the material bonds best to an even tarmac, concrete or asphalt surface. Good preparation makes installation quicker and helps the markings last longer.
- Remove old markings. Worn paint or old thermoplastic should come off so the new markings adhere properly and the colours look even. Most old markings can be removed by grinding or ultra-high pressure water blasting, and our playground marking removal service covers this.
- Clean the surface. Sweep away dirt, leaves, grass, moss and sand with a stiff broom, then jet wash to lift anything left behind. If the playground has been unused for some time, soaking it with running water first loosens dirt in small gaps and cracks. Pick a warm day when it is unlikely to freeze.
- Treat stains. Spot clean oil and tyre marks before soaking. Washing powder left to sit on heavy stains, or detergent mixed with water on lighter ones, lifts most marks. Wear gloves and boots while you work.
- Rinse. Use a high-pressure hose to rinse the whole area until no dirt or cleaning product remains.
- Repair the surface if needed. Thermoplastic can be applied to most outdoor surfaces, but a badly worn one may need repairing first so the markings sit evenly and stay bonded. We can look at this during the site visit.
Why are thermoplastic markings used in school playground design?
Thermoplastic markings are used in school playground design because they are durable, non-slip and fully customisable, and they hold their colour through years of daily play. They carry a manufacturer's warranty of up to 4 years, subject to ground condition, and we have seen them last over 10 years.
The markings stand up to heavy foot traffic and all weathers, which makes them cost-effective over their life. They are non-slip in the wet, non-toxic and UV-resistant, can use your school colours, logo or themes, and are ready to use within 30 minutes of installation. Clear boundaries between zones also reduce collisions during play.
Browse our full range of school playground markings to see the games, courts, trails and learning designs that can go into a layout.
What is it like to work with Uniplay on a school playground design?
Working with Uniplay on a school playground design means one in-house team handles the site visit, the design and the installation, so the playground you approve is the playground that gets installed. We have worked with hundreds of schools across the UK.
Our DBS-checked team will visit your school anywhere in the country, talk through your goals and budget, and give tailored recommendations, and our designers then draw up a scheme you can adjust before anything is installed. If you are unsure whether markings suit your space, ask us for a free consultation and a no-obligation quote by calling 0333 321 6699 or emailing [email protected].
Ready to transform your playground?
A free design and a detailed quote, with no hidden costs and our price match promise.
All prices include installation, and every quote is fully itemised.
- Free design and site survey
- No obligation
- Our own in-house installation team
More from the blog
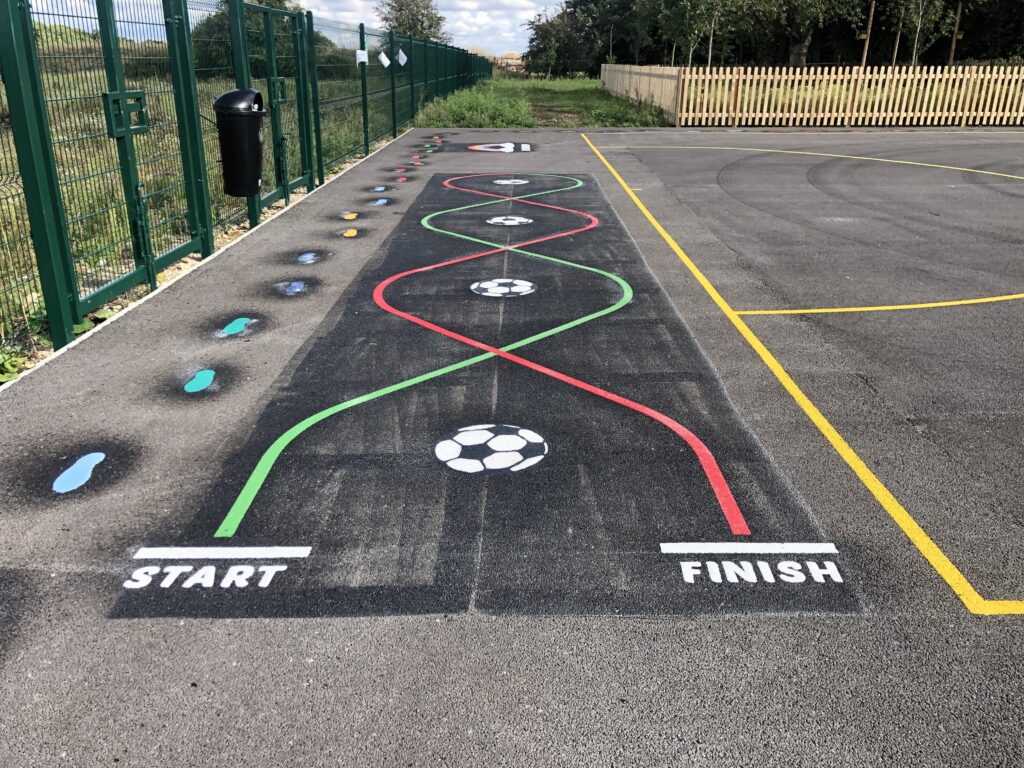
School Playground Ideas for Primary Schools and Nurseries
School playground ideas that work: games, learning markings, zones and active play for primary schools and nurseries, using thermoplastic markings.
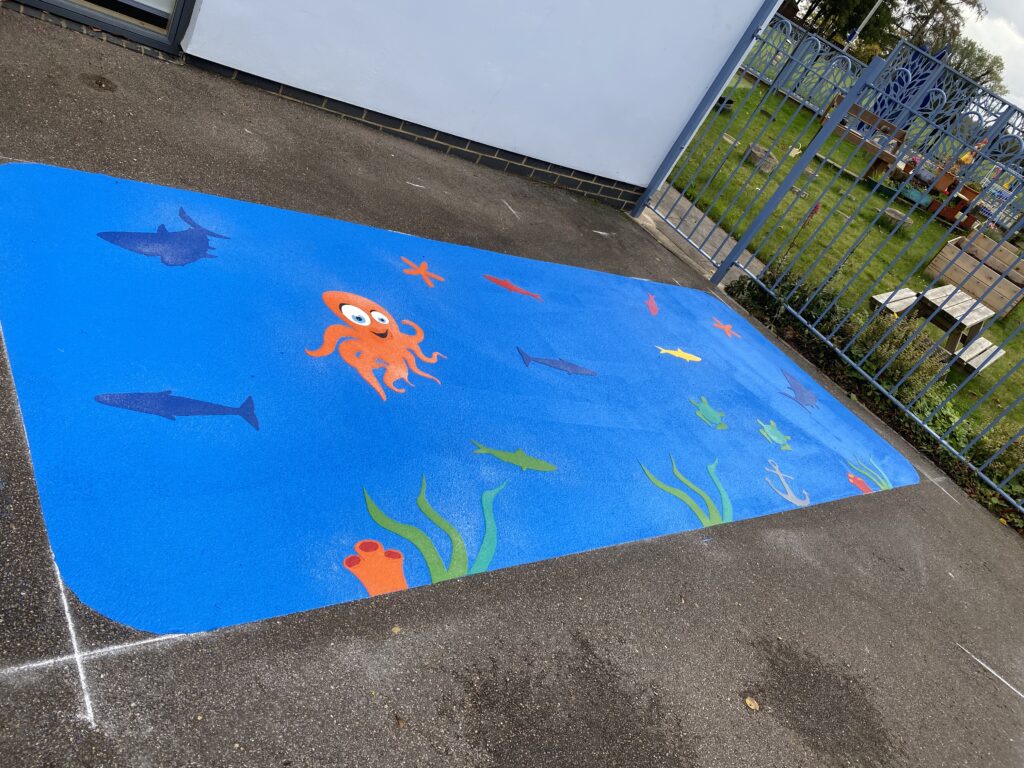
Small Playground Ideas for Schools with Limited Space
Small playground ideas for schools: multi-use markings, scaled-down games and smart zoning to get more play and learning from a compact space.
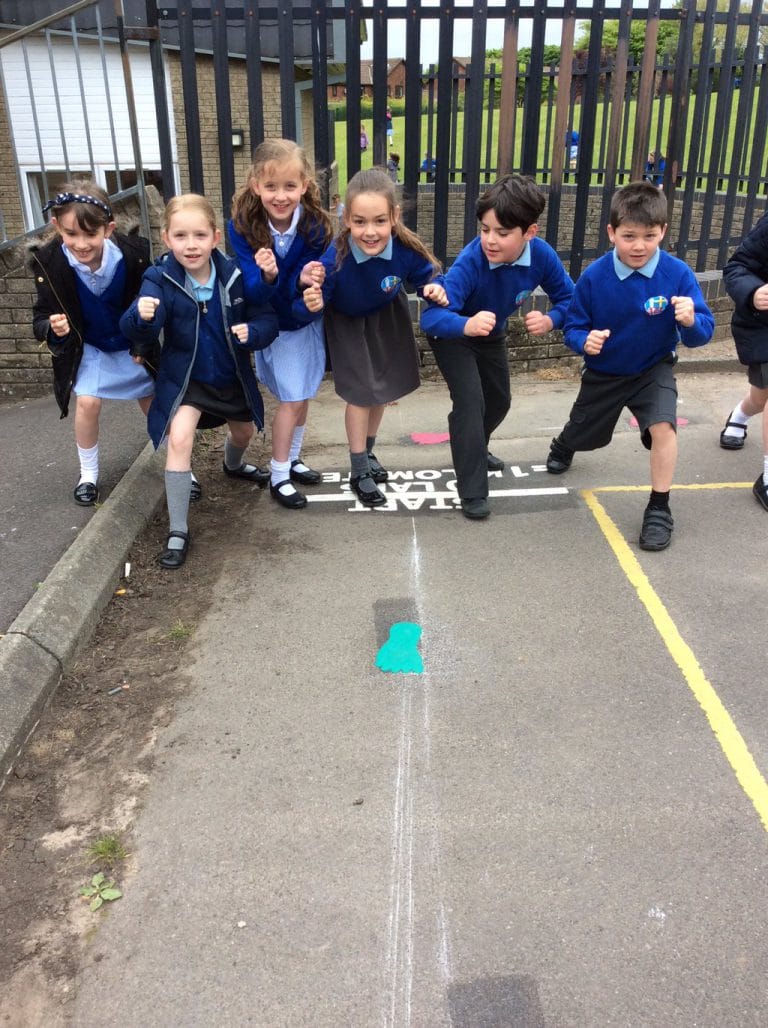
St Barnabas get active with 1k a day
Uniplay were delighted to be asked to install a 1 kilometre circuit in thermoplastic footprints at St Barnabas Primary School in Darwen.